Migrating a WordPress site to Mshini – DIY Edition
If you’re reading this article, chances are that you’re fed up with your current hosting company and that you’re looking to migrate your WordPress site to Mshini. Lucky for you, Mshini takes all of the pain and effort out of performing a WordPress site migration. We’ve automated 90% of the WordPress site migration process and a full site migration typically takes no longer than an hour or two, depending on the size and number of files being migrated.
We specialise in managed WordPress hosting and are eager for you to experience the fastest WordPress hosting that South Africa has to offer.
If you’d sooner that Mshini handle the entire WordPress site migration process for you, then you should view the below Knowledge Base article instead:
Migrating a WordPress site to Mshini
If you’re a sucker for punishment or somewhat technical and you’re up for a challenge, proceed to find out what’s involved with the DIY WordPress site migration.
If your current hosting provider makes use of cPanel as a control panel, you will likely have access to the required tools to action steps 1 and 2 yourself.
Step 1: Export your WordPress database to a dump file
- On your account with your current hosting provider, open the wp-config.php file. Located in this file is the name of the database that you need to export.
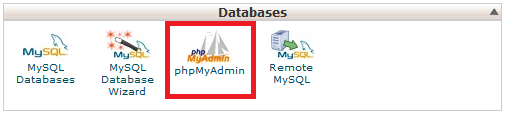
- Find and open the phpMyAdmin tool in cPanel
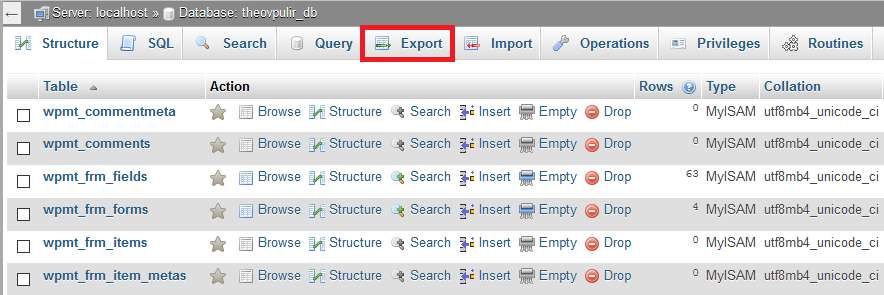
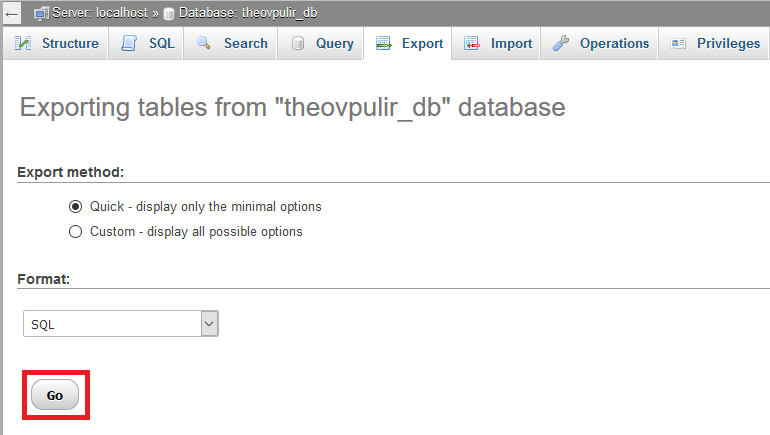
- You may use phpMyAdmin to access and then export your existing WordPress database as a .sql file. You will be prompted to download this file to your local machine and you should proceed.
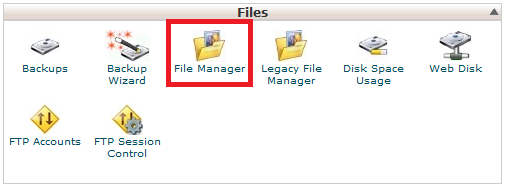
- Once you’ve downloaded the .sql file, you should upload it again to the web root directory using the File Manager tool in cPanel
Step 2: Create an archive of your WordPress site content
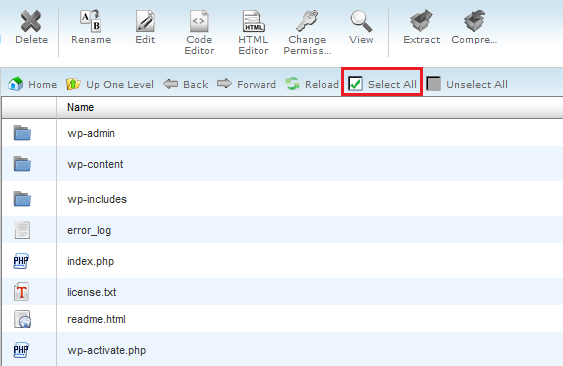
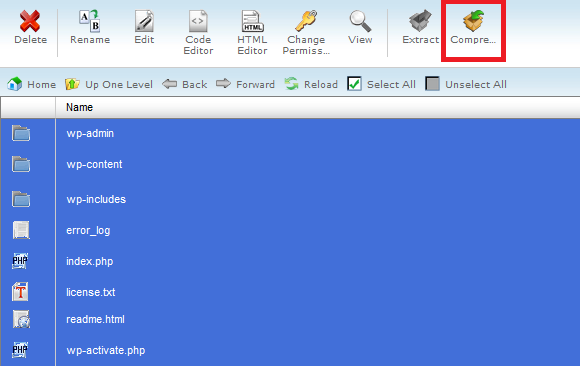
- Find and open the File Manager tool in cPanel
- Ensure that you’re in your web root folder, i.e. the folder where all of your WordPress content is located
- Click on Select All to select all files and sub-folders in the current directory
- Click Compress to create an archive of your WordPress content
- Select either .zip or .tar.gz as the compression type
Step 3: Send the two download URLs to Mshini
At this point, you would have downloaded and then uploaded a copy of your WordPress database (.sql file) and you would have created an archive of your WordPress content on the current server. It’s essential that you remember the names of the files because you will need to include these in the download URLs that you send to Mshini. We will require download URLs to both of these files in order to finalise the migration of your WordPress site to the Mshini server.
You will now need to email Mshini so that we may action step 3 of the WordPress migration process. You may use the email template below:
Hi Mshini Support
I have a WordPress hosting package with you under the domain name: <yourdomain.co.za>
Please assist me in migrating my existing WordPress site from the current host to yourselves.
Site download URL: <http://yourdomain.co.za/site_backup.tar.gz>
Database download URL: <http://yourdomain.co.za/db_backup.sql>
Best regards,
<Your Name Here>
Step 4
Once we have a copy of your WordPress site and database content, we will migrate your current live website to a staging environment on a Mshini server. As mentioned above, this process may take anywhere from 30 minutes to 2 hours, depending on the size of the WordPress site being migrated.
Step 5
Before you’re able to view your WordPress site on the new staging environment, you will need to create a new DNS record in the DNS management section of your current host’s control panel or request that your current host add the new DNS record on your behalf. See below for an example of the DNS record to be created:
| Record Name | Record Type | Points To |
|---|---|---|
| staging.yourdomain.co.za | A Record | Mshini server IP address |
Step 6
We will test your WordPress site on the staging environment to ensure that everything is functioning optimally before notifying you that your staging environment is ready. You will then have the opportunity to test it for yourself and, once you are satisfied, you may ask to push your staging site to the production environment or do so yourself via your Mshini customer control panel.
This final step includes updating your existing DNS records to point to the Mshini server IP address in order to make your site live with Mshini. Again, you will either need to update your DNS records yourself in your current host’s control panel or request that your current host update the two DNS records on your behalf. See below for an example of the DNS records to be updated:
| Record Name | Record Type | Points To |
|---|---|---|
| yourdomain.co.za | A Record | Mshini server IP address |
| www.yourdomain.co.za | CNAME Record | @ or yourdomain.co.za |
More information on pointing your domain’s DNS records to Mshini is available on our Knowledge Base at the below link:
Pointing your domain’s DNS records to Mshini.
While most DNS updates reflect almost instantly, DNS propagation may take up to 24 hours in worst-case scenarios. To find out if your DNS changes have propagated successfully, a simple DNS lookup may be performed at the below link:
It is good practice to clear your local browser cache after having migrated a website. This will ensure that you browse to the site on the new host and not to an outdated copy of the site hosted elsewhere.
DONE!
Your WordPress site migration is now complete and your site is hosted with Mshini!
Enable free SSL for your WordPress site
Have you enabled SSL for your WordPress site? Doing so will configure a free Let’s Encrypt SSL certificate for your domain and traffic to your site will be routed via HTTPS instead of HTTP. This is especially great for e-commerce websites. Enabling SSL will also see your site utilising the new HTTP/2 protocol which is significantly faster and more efficient than the original HTTP.
More information re. enabling SSL for your WordPress site is available on our Knowledge Base at the below link:
What about my email?
We have partnered with Zoho to provide our customers with reliable email hosting. Mshini Hosting offers you two email plans to choose from. More information in this regard is available on our Knowledgebase at the below link:
Email Recommendations from Mshini
And what about my domain name?
If you would like to transfer your domain name from your current domain registrar to Mshini’s domain registrar, you should send us an email requesting the domain transfer and we’ll gladly assist.
An authorisation request will be sent to the domain registrant’s email address. This domain transfer request will need to be accepted in order for it to proceed. Once transferred to our servers, we will have control of your domain’s DNS records, which will make things simpler should your DNS records ever need to be updated by us going forward.
Please note that when transferring domains with international TLDs, e.g. .com, .net, etc., we will also require an EPP code to perform the domain transfer. This EPP code should be requested from your current domain registrar or previous host.


