How To Enable SSL
Eager to improve not only the security but also the speed of your WordPress site? Great! All Mshini customers receive free Let’s Encrypt SSL certificates when signing up for managed WordPress hosting. You can enable HTTPS for your site within 1 minute using the Enable SSL tool.
We urge you to take advantage of your free SSL certificate, doing so will ensure that all data transmissions between your web browser and your site on the Mshini server will be encrypted and hidden from prying eyes.
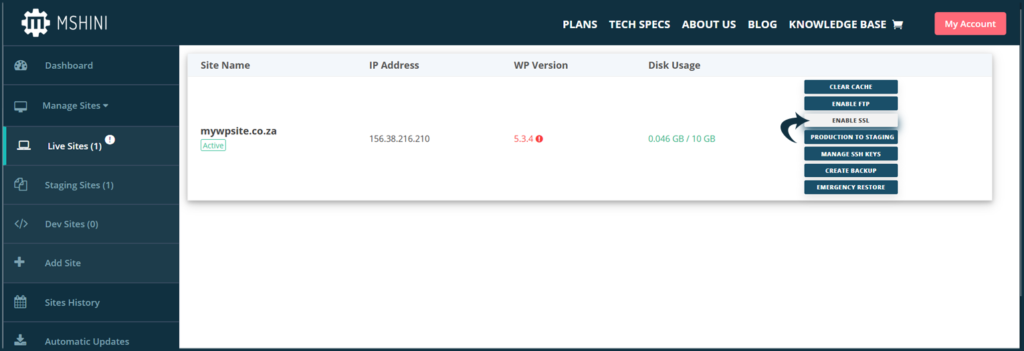
If you would like to enable SSL for your WordPress site, you’re able to do so using the Enable SSL tool in your Mshini customer control panel.
Once logged in to your customer control panel, select the Manage Sites tab on the left to access your Site Tools and click on the Enable SSL button to automatically configure your free SSL certificate and update your site from HTTP to HTTPS.
N.B. If you’re managing your own domain name and DNS records, you will need to ensure that your DNS records have been updated to point to the Mshini server before attempting to enable SSL for your WordPress site. See below for an example of the DNS records to be updated:
| Record Name | Record Type | Points To |
|---|---|---|
| yourdomain.co.za | A Record | Mshini server IP address |
| www.yourdomain.co.za | CNAME Record | @ or yourdomain.co.za |
More information on pointing your domain’s DNS records to Mshini is available on the link below:


