How To Deploy A Site Template
Our bulk plan subscribers can use site templates when creating new dev sites, or adding more sites to their existing bulk plan.
Once you’ve finished creating your site template and added your theme and plugins, you might want to deploy your new template with your next site.
If you haven’t created a site template yet and need help, please refer to our site template creation guide here.
In the example below, we’ll deploy our site template with the Freelancer’s custom URL dev site.
Adding A New Dev Site
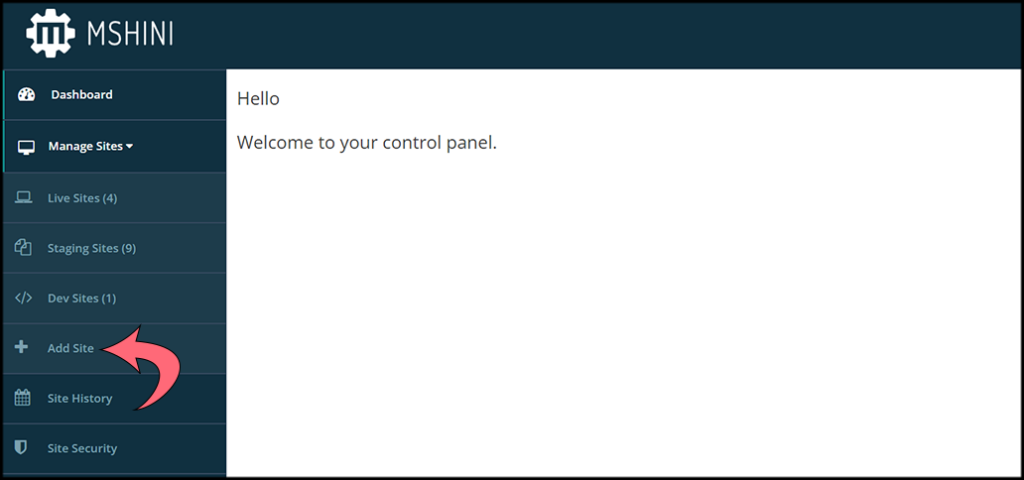
Once logged into your Mshini hosting account, navigate to and open your Manage Sites tab.
You will find the +Add Site button at the bottom, which you can click on to bring up the Dev site details.
Fill Out Your Dev Site Details
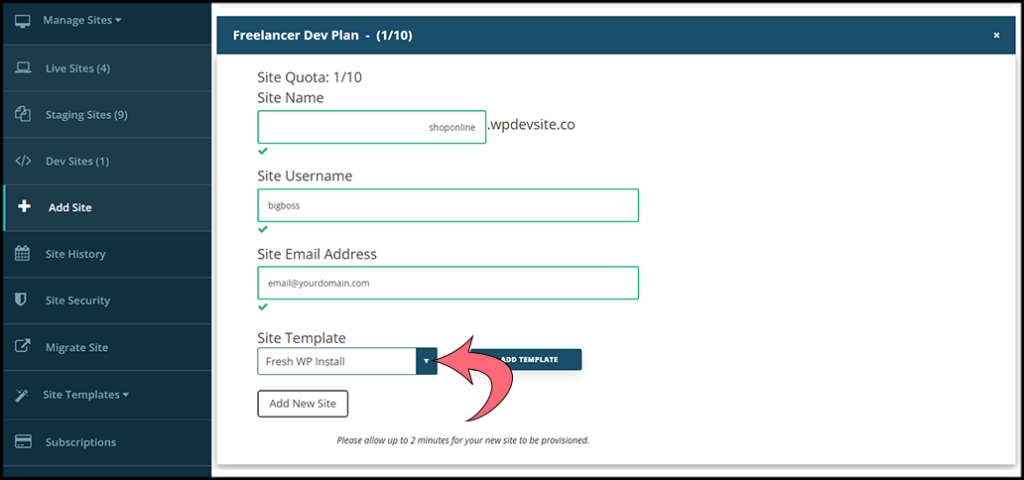
After completing all the necessary dev site information, you are now ready to add your site template for deployment. Locate your saved site template by selecting the Site Template drop-down menu.
Selecting Your Template
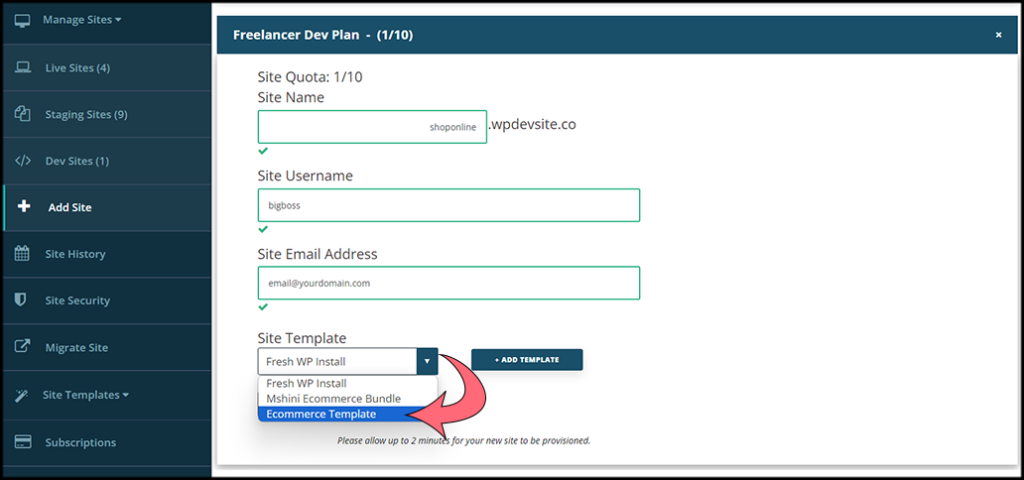
In our example, our template name is E-commerce Template, which is the template we choose from the drop-down menu.
Once we have selected our template, all we need to do is deploy it with our new custom URL dev site.
Alternatively, you can generate a new template by clicking on the +Add Template button. This action will redirect you to the Create Template tab, where you can design a new template to save and utilize.
Deploying Your Site Template
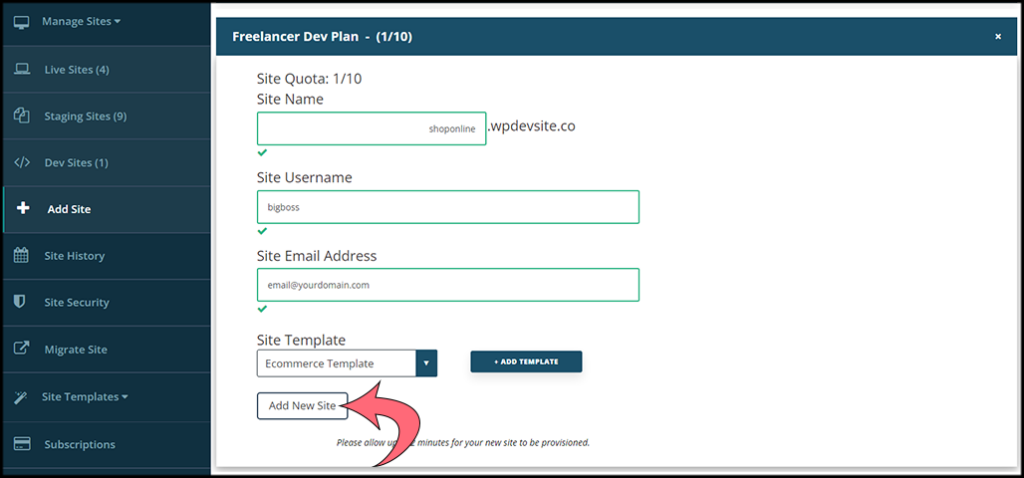
Before deploying your template, make sure you have chosen the correct template name to use. After that, simply click on the ‘Add New Site‘ button.
The site provisioning might take a few minutes to complete. Once the provisioning is done, you will receive all the necessary site details, including login credentials, via email.


