How to enable FTP access
FTP access can easily be enabled via the Mshini control panel once logged into your hosting account.
You will need a FTP client to be able to connect to your site via FTP. If you do not have a preferred FTP client, please refer to our FTP recommendations here:
mshini.com/knowledge-base/what-is-FTP-and-why-should-i-use-it
Once you have selected and installed a FTP client and you would like to access your site content, please follow the steps outlined below.
Log into your Mshini account, or click on the URL below:
You can enable FTP access for both your production site, as well as your staging site.
If you are looking to enable the production site FTP, you would need to navigate to your Manage Sites tab, and select the Live Sites option:

Alternatively, should you require FTP access to your staging environment, you would need to navigate to your Manage Sites tab and then select the Staging Sites option:

Once you have clicked on the Enable FTP button, you will be taken to the Site History page. The status will display a tick once FTP has been successfully enabled for the site.
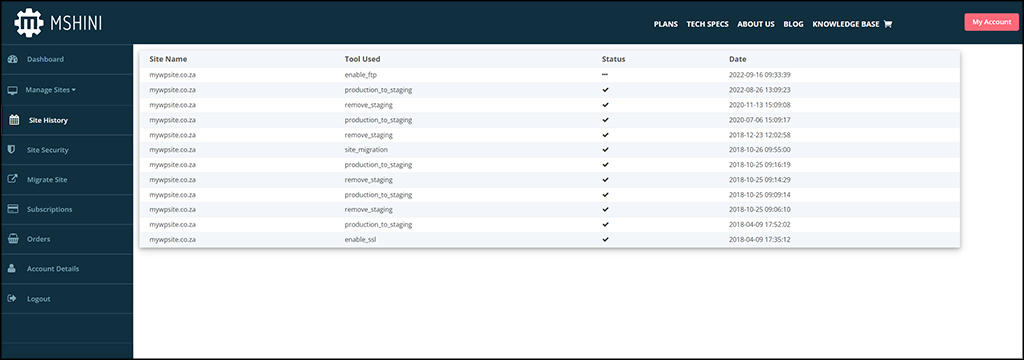
The site owner will receive an email with the subject ‘FTP enabled for yoursitename.co.za’ that contains the login credentials that must be used when logging in via FTP.

Should you have enabled FTP access for your site, and can’t find the FTP credentials email in your inbox, it’s advisable to check your spam / junk mail folder as well.
In order to retrieve the FTP login credentials for your site, you will need to have the FTP hostname, FTP username and FTP password.
The password can be found by clicking on the one-time-only link, which will open a secure page where you are able to retrieve and save the password to be used. Please note this link is only available once after clicking on it, so please be sure to save the details for later usage.
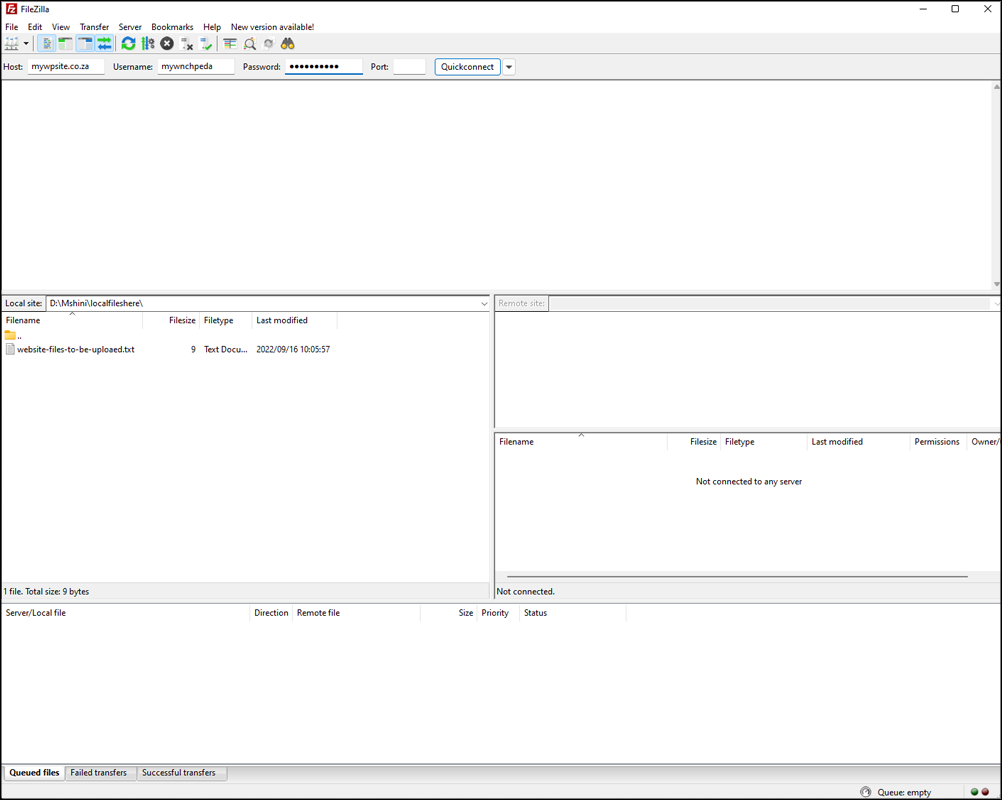
You can now open your preferred FTP client. In this example, we will be using the Filezilla FTP client:
If you are familiar with DNS and are able to ping your website residing on the Mshini server, you may use the IP for your FTP host entry. This will only work if the site you are connecting to is live on the Mshini server.
After entering your hostname, username and password into the respective fields in the FTP client, you can go ahead and click on the connect button to connect to your site via FTP. The port entry can be left blank, alternatively, you are also able to use the preferred default port 21.

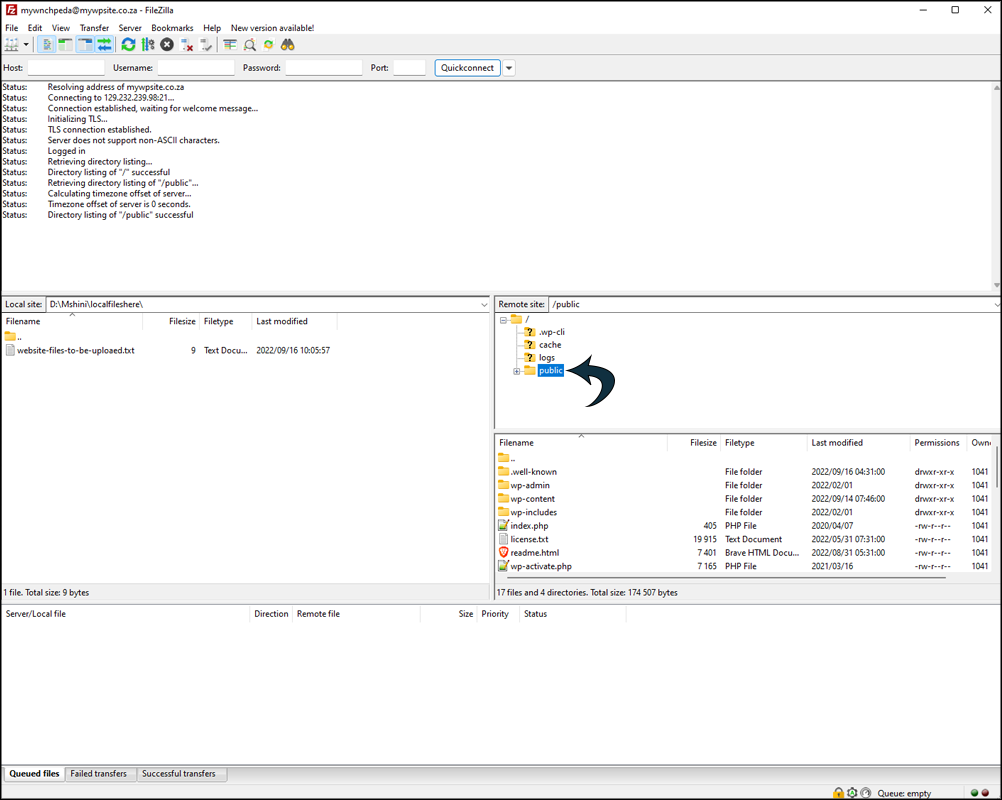
Once your FTP client has made a successful connection, you will notice two main quadrants, (local and remote).
On the left-hand side, you will find your local site details. This would be your local connection, i.e. your computer.
On the right-hand side, we find the remote site connection. This would be where your WordPress website is located on the Mshini server.
You can browse to your website’s public folder simply by double-clicking on the public folder found on the right, under the remote server.
You are able to download files and folders directly from your website stored on our server or upload them from your local computer directly onto your website.
Doing this is as easy as dragging the files you wish to move from your computer (left) to the Mshini server (right), or vice versa.
FTP access is enabled for a period of 48 hours, after which it is automatically disabled for security purposes. If you would like to again enable FTP access, all you need to do is to repeat the above process and a new set of FTP credentials will be emailed to the Mshini account holder’s email.


